Creating Simple Site with Nanoc
In the previous part of the series we discussed what the static web site generation is and why you should use it. In the next few articles we’ll go through the creation of the site and we’ll add few blogging features. As a framework we’ll use nanoc and in this article I’ll walk you through some basics.
Things you need to install are ruby, ruby gems and nanoc. Ruby is the language and environment. Ruby gems are the package management system for ruby. Nanoc is the platform for static site generation. Based on the technologies used on your site you probably have to download more gems but for the first example this should be enough.
On the nanoc homepage there is a great guide how to install all of the three important components. Follow the instructions and when you are ready we start with the hello world site.
First Steps
Let’s make sure that you’ve downloaded all three components and they are properly configured. Run following commands.
% ruby -v
ruby 1.9.3p327 (2012-11-10) [i386-mingw32]

% gem -v
1.8.24

% nanoc -v
nanoc 3.5.0 (c) 2007-2013 Denis Defreyne.
Running ruby 1.9.3 (2012-11-10) on i386-mingw32 with RubyGems 1.8.24.
Now let’s create the web site and switch to the working directory.
% nanoc create-site hello-world
% cd hello-world
You can use quotes for multiple words in the site name just like this nanoc create-site "My Web Site with Spaces".
When you are in the root directory of our web site, compile the project running the nanoc command. It is the same as running nanoc compile.
Then start local web server by running nanoc view. It is better to start local web server in different process than your command prompt by running start nanoc view with Windows Powershell.
With nanoc help <command> you can check the documentation for command’s parameters and switches.
For example you can use nanoc view -p 3001 for running web server on a different port. This is very useful if you are working on multiple nanoc sites at once.
Let’s compile and run the web server.
% nanoc
% nanoc view
Open your browser and check the output on http://localhost:3000.

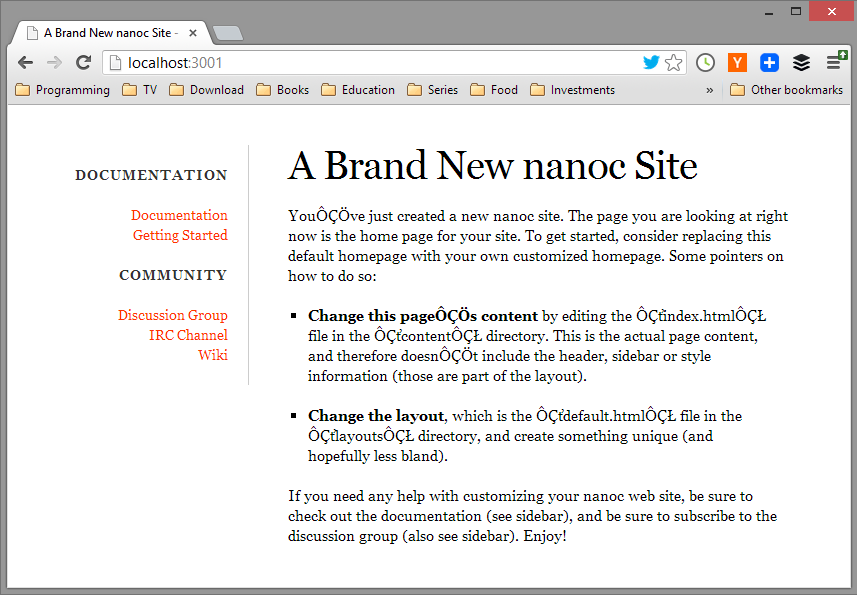
Everything is working and your application is ready to use. Or is it? Did you notice there is something wrong with the encoding? Let’s take a look and fix this issue.
Fixing Broken Encoding
The lib folder located in the root project directory contains ruby scripts and user defined methods. This is the place where you can put your code, create custom helpers and modules and set up the application environment.
Go to the folder and edit default.rb. Set the default internal encoding to UTF-8 with this line.
# All files in the 'lib' directory will be loaded
# before nanoc starts compiling.
Encoding.default_internal = Encoding::UTF_8
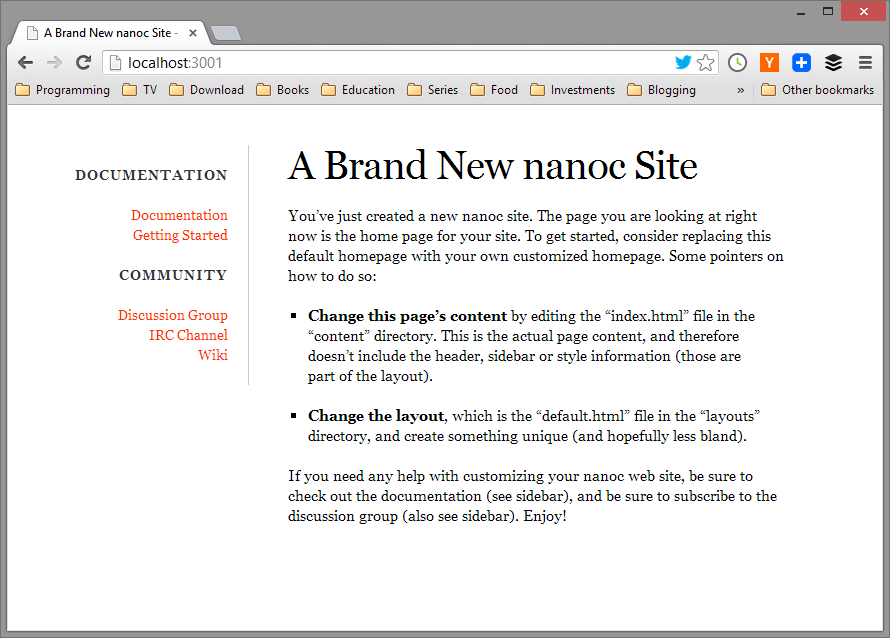
Compile the site with the already well known nanoc command and the result should look like this.

The encoding is fixed and everything is working now. We created our first nanoc hello world application. Well done!
Hello World
To modify the content of the main page just go to /content/index.html and insert custom html. The first few lines between - - - delimiters are the item’s metadata. For now it just contains title of the page but in the future it can hold many information for custom purposes.
Modify the file to following.
---
title: Hello World!
---

<h1>First Site Created with nanoc</h1>

<p>Hello World from nanoc!</p>
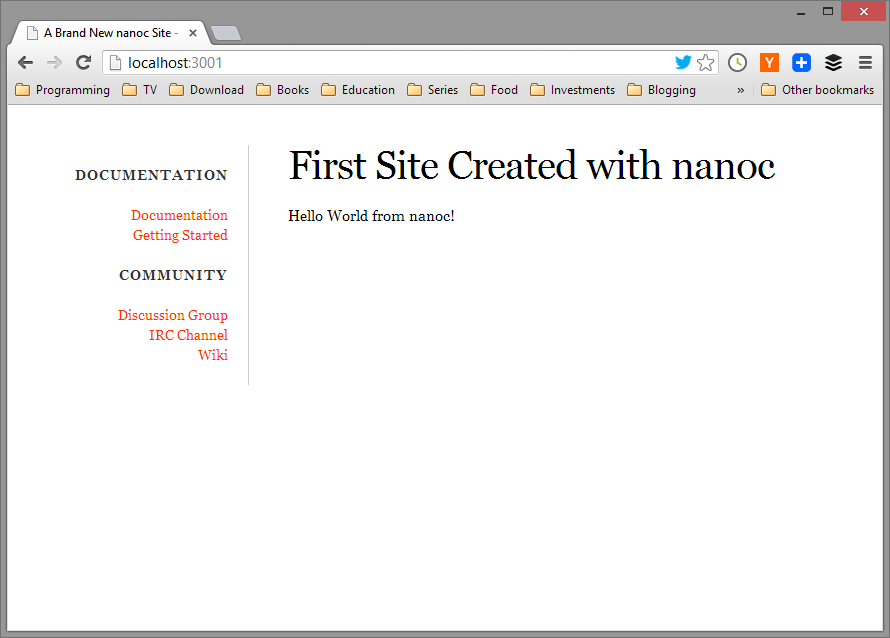
Compile the site and review it in the browser on the http://localhost:3000. You should see your new custom content. You cant play with the site.

Conclusion
In this article we created our first web site using static site generation. The power of nanoc hasn’t been revealed yet. But you’ll see it soon enough.
More difficult sites with the generic content will benefit from the nanoc capabilities much better than simple hello world application and I hope you’ll fall in love with this framework as I did.